2023 Irrigation Shut Off Dates for the Area and End of Season Watering Tips
October brings the end to the irrigation water season, and we wanted to share when several of the local irrigation districts are ending the irrigation water season and some tips for your landscape to make it through winter better.
Irrigation Districts
Benton Irrigation District Oct 13th
Badger Mountain Irrigation District Oct 20th
Columbia Irrigation District Oct 13th
City of Pasco Irrigation Oct 16th
City of Richland Irrigation Oct 16th
East Columbia Irrigation District Oct 23rd
Franklin County Irrigation District Oct 23rd
Kennewick Irrigation District Oct 11th
South Columbia Irrigation District Oct 23rd
Before the water goes off
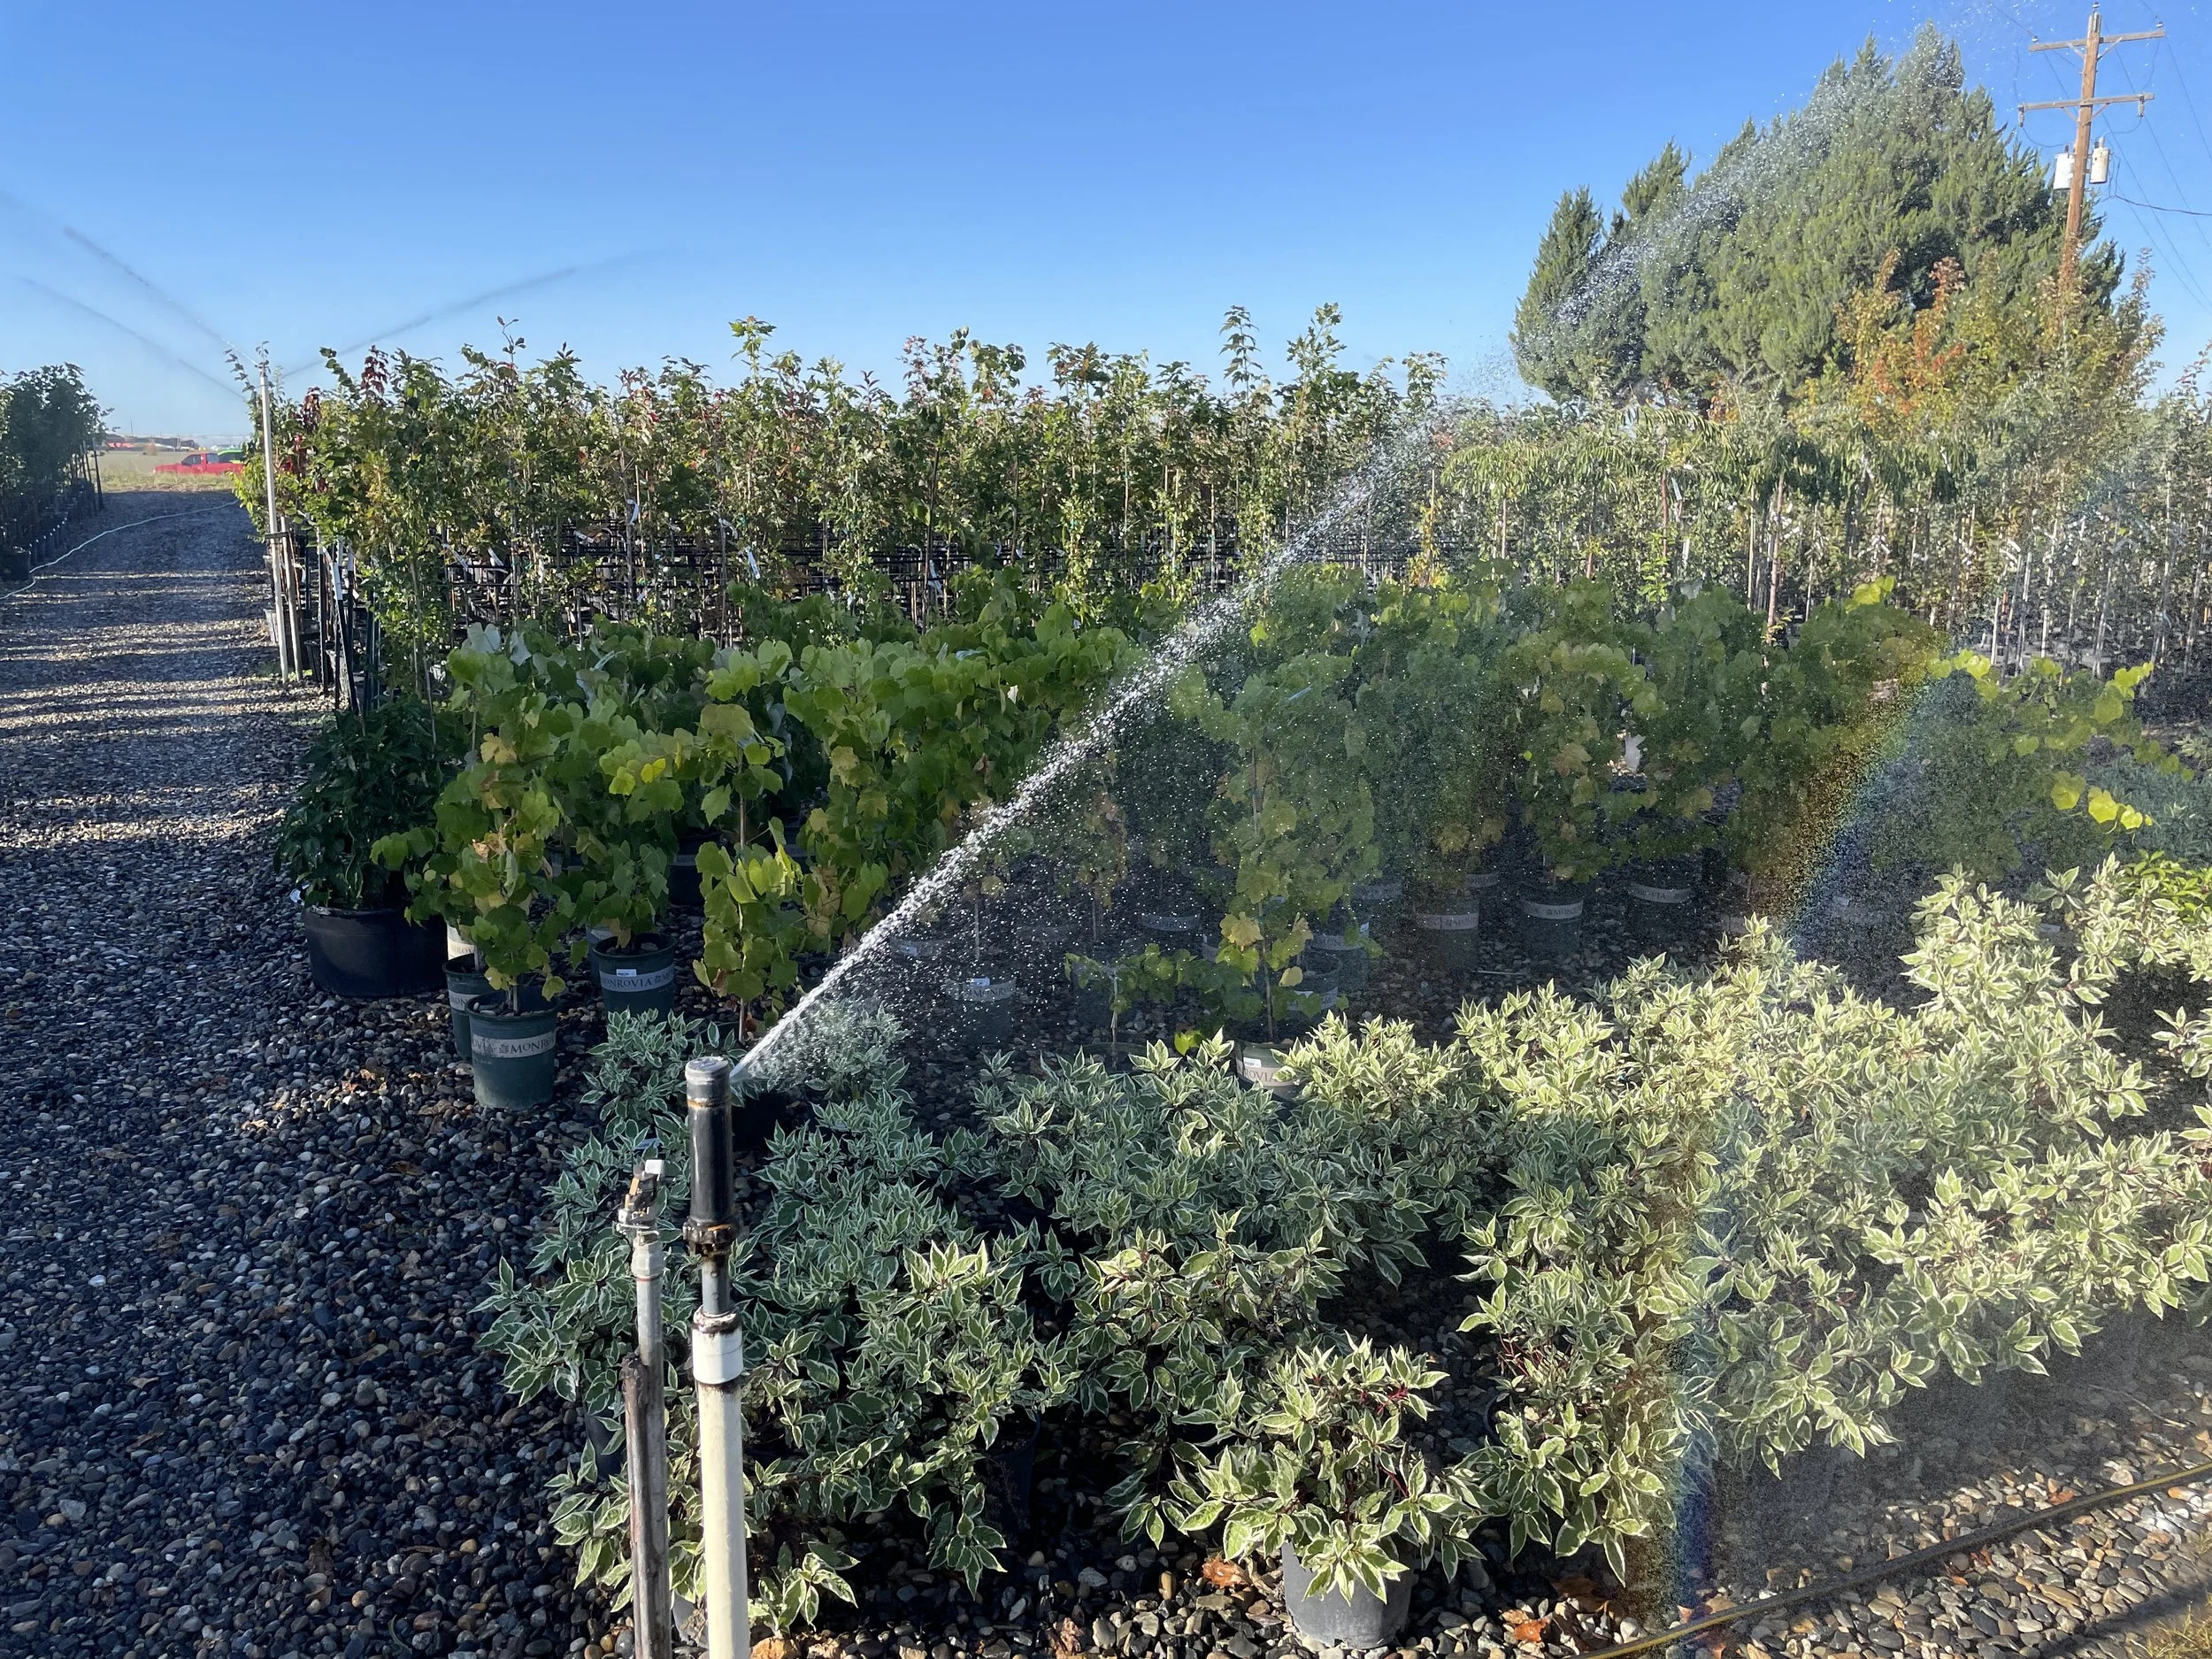
-Ensure everything in the yard gets a good drink; nothing is dry or wilting.
-Deep soak evergreens, and then make a recurring phone/calendar reminder to check the evergreens once a month through March.
-Make a fix list to repair before spring if sprinklers or valves are leaking, broken, or haven’t worked correctly.
-Review this list of plants that do well getting a drink in winter.
After the irrigation, the irrigation water is off.
-Clean your filters. That way, they are good to go in spring.
-Get your sprinkler lines blown out
-Disconnect your hoses from outdoor faucets
-Drain garden hoses when not in use
-Clean your sprinkler screens, inspect the sprinklers for wear and tear like springs, nozzles, or threads repair if needed
-Put your irrigation timer either in standby mode or off, depending on model or brand recommendations for winter storage. There is no need to have your valves turned on and off all winter.
-Consider upgrading your irrigation timer if it’s hard to program for modern smart controllers that use phone apps for programming vs the mystery dial.